If you haven't yet, download the "master" branch binary installer for Darwin.
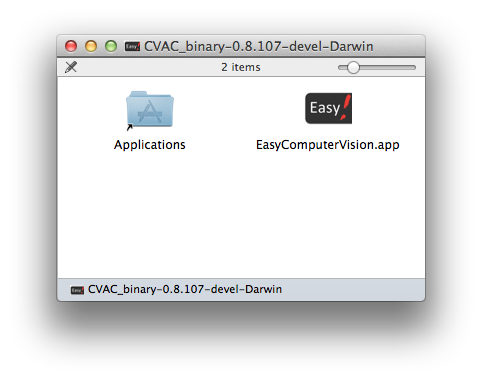
Double-click the downloaded disk image file (called something like CVAC_binary-0.8.99-Darwin.dmg).
Drag the "EasyComputerVision" icon into the Applications folder. Alternatively...
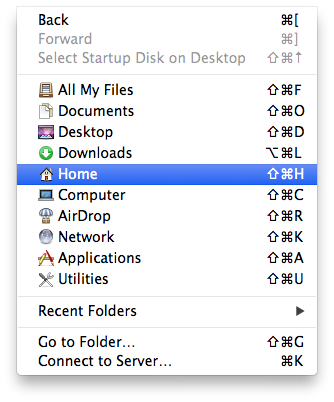
If you do not have admin rights, drag the icon into your user-specific ~/Applications folder instead: In Finder, press Shift-Command-H, then select Applications.
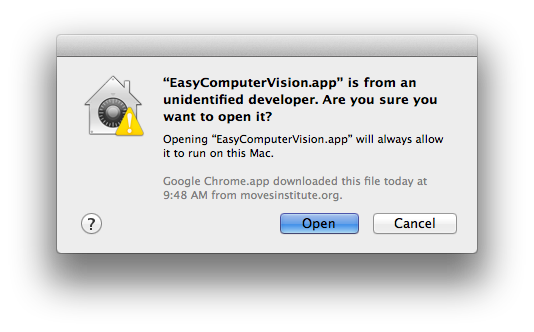
Browse to the Applications folder (by double-clicking it). Right-click EasyComputerVision and select "Open".

In the warning dialog, select "Open".
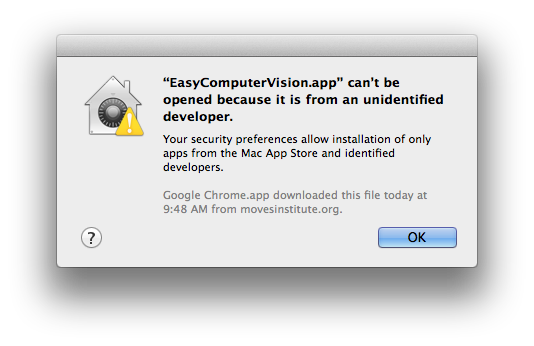
If you get an error message, go back to step 5.
After a short wait (up to 30 seconds), the EasyCV Control Center graphical user interface will pop up. Congratulations, you have successfully installed EasyCV!

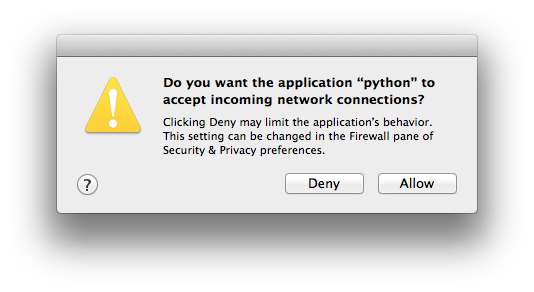
Pressing the "start" button will run a few default CV algorithms (services) locally. The first time you run this you might get firewall warnings. Select "Allow" so the services can accept service requests from clients.
Follow the user documentation on how to get started. If you have trouble installing EasyCV, please don't hesitate to get in touch.